There are plenty of reasons to try public transit in the City of Angels. The transit system in LA can be an excellent option whether you want to reduce your carbon footprint, eliminate the stress caused by traffic jams, or just get some reading done during your daily commute.
However, we know that navigating the city by bus can be a bit overwhelming or even a little scary – especially if it’s your first time riding public transit (or the first time since grade school). But with a little know-how, encouragement, and support, we think it will be easier than ever for you to give LA’s buses a try!
1. Get to know the system area, providers, and routes
The first step to navigating one of the largest, most robust bus systems in the country is to familiarize yourself with the geographic area of service, the many regional providers and routes, as well as the locations of your desired stops and stations.
Metro is LA County’s regional transit agency (providing bus and rail service throughout the county), but there are also dozens of smaller transit providers who operate service within smaller areas (think of Santa Monica’s Big Blue Bus or Santa Clarita Transit Buses, which are both operated by cities within LA County).
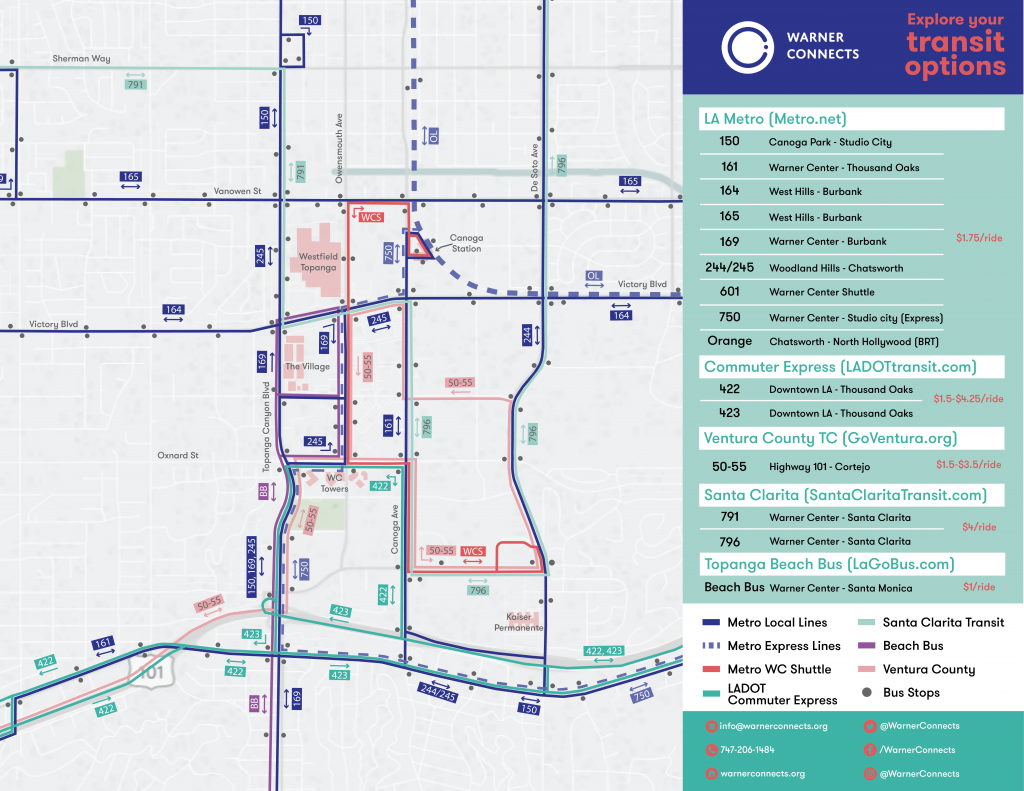
You can start by checking out Metro’s transit map as well as their Orange Line service map. We think it’s a great start to familiarize yourself with routes and schedules in your neighborhood, but if you find these maps too confusing, check out the simplified Warner Center transit map we created for you above or try out apps/sites like Citymapper and Google Maps.
2. Get yourself a TAP card

All Metro buses, trains, and bikes (as well as nearly all other regional transit agencies) use TAP cards to make paying and riding as easy as possible.
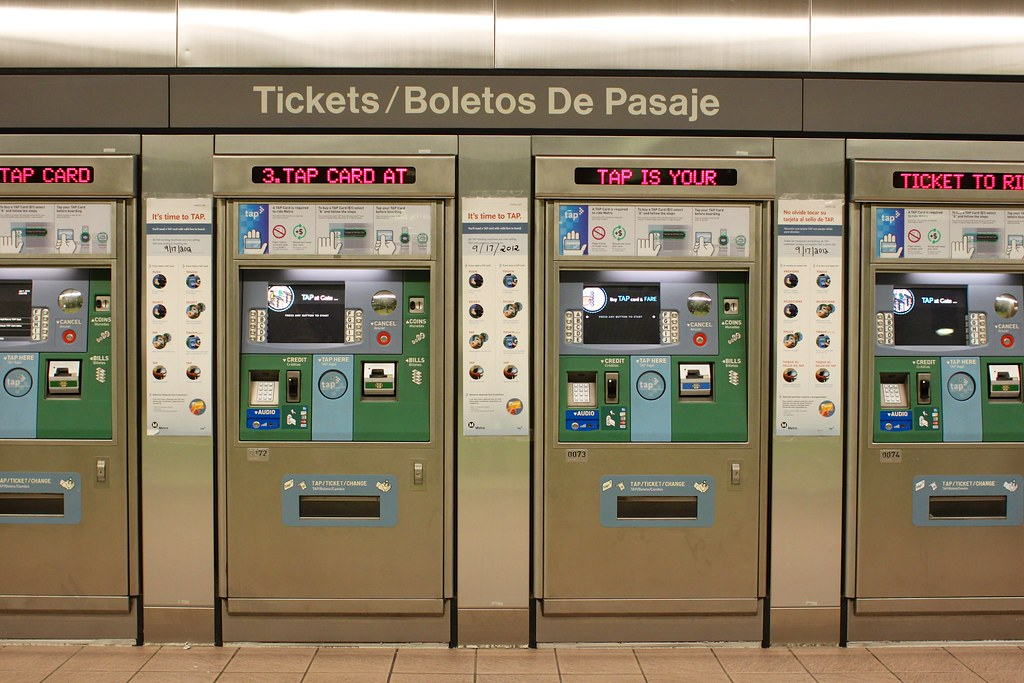
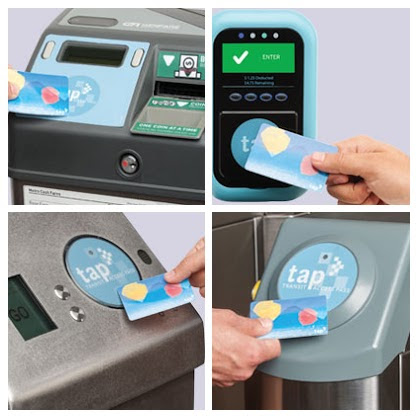
They are plastic cards which can store set dollar amounts or weekly/monthly passes for unlimited rides during each time period. TAP cards come in a variety of designs and limited editions (although the standard card is blue, like the picture above). You can purchase a TAP card at any Metro rail station, Orange Line station, or at select third-party vendors.
Check out this map to find out where TAP cards may be purchased near you.
Once you have a TAP card, go to taptogo.net to register the card and load it with fare or passes (this can also be done in person at a rail station or a select vendor). TAP cards can be used on any Metro bus, train, or bikeshare, as well as on buses provided by more than two-dozen local transit agencies (like Big Blue Bus, LADOT Commuter Express and Dash buses, etc.). Fare on Metro vehicles is $1.75 for a one-way ride, and covers free transfers for up to 2½ hours.
Click here for a full list of local agencies which accept TAP cards and more info.
3. Download an app and plan your route
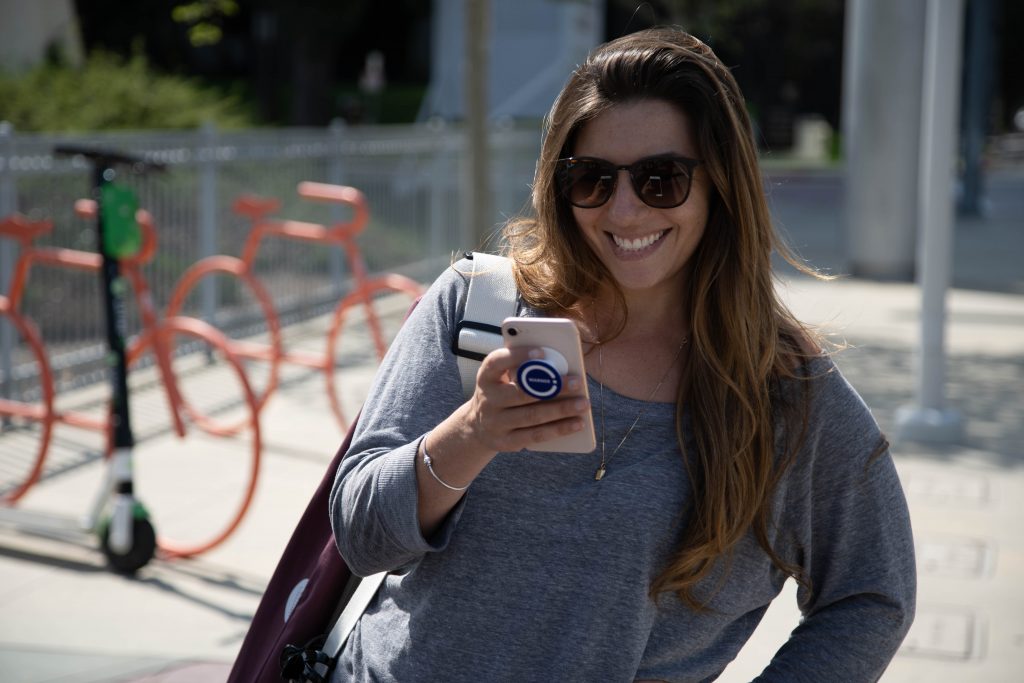
Next, we recommend planning the quickest route on a mobile transit planning app or website. There are plenty of free transit planning apps available today, including Google Maps, TransitApp, and Citymapper. All of these services provide the ability to plan your trip well ahead of time. We really recommend planning ahead for a variety of reasons including the difference in bus schedules based on time of day. Buses tend to operate less frequently in the later evening, meaning you might end up waiting longer for a bus than you need or intend to if you haven’t planned ahead.
The Google Maps “Transit” feature is easy-to-use and comprehensive, plus you are likely already familiar with the app and its functionality (simply click the icon that looks like a bus after entering your destination for directions). CityMapper and the Transit App are great tools to see all of your mobility options in one place: whether it’s an e-scooter, bikeshare dock, or rapid bus, all nearby options are visible on one simple screen. Google Maps and CityMapper both offer an app as well as a website service, but the Transit App can only be used after downloading in your mobile app store.
Whichever app or site you prefer, downloading and planning ahead of time will save you lots of time and hassle.
4. Getting on the bus
When waiting for a bus to pick you up, get your TAP card out and ready so it is quick and easy to board. Make sure you note the number displayed electronically on the front and/or side of the vehicle as it approaches (circled in red below). This indicates the route number and oftentimes the final destination of the bus.
If you are unsure if it is the correct bus for you, politely ask the bus driver. When you are considerate of the driver and other passengers, nearly every driver will be happy to help you figure it out quickly so you can both get on with your journey.
Always let passengers get off the bus before boarding it yourself. Once on board your correct bus, simply place your TAP card on the circular, padded area on the farebox at the front of the bus, next to the driver.
5. Riding the bus
Walk to an open seat or if one is not available you can stand and hold onto a handrail, strap, or bar. It is always best to stand with your feet at shoulder width, facing out to either window so that you can more easily keep your balance. If you are standing, try to move to the rear of the bus so that more passengers will have room to board at upcoming stops.
Try to make note of when your stop will be approaching early on in your ride. You can even use the GPS in your transit planning app to see how many more stops away your destination is. When you have passed the final stop before your destination, pull the yellow cord running by the windows.
You should then see the “Stop Requested” sign at the front of the bus light up, accompanied by the sound of a bell. If you do not see the sign light up or hear the sound of a bell, you can always kindly inform the bus driver to let you off at the next stop.
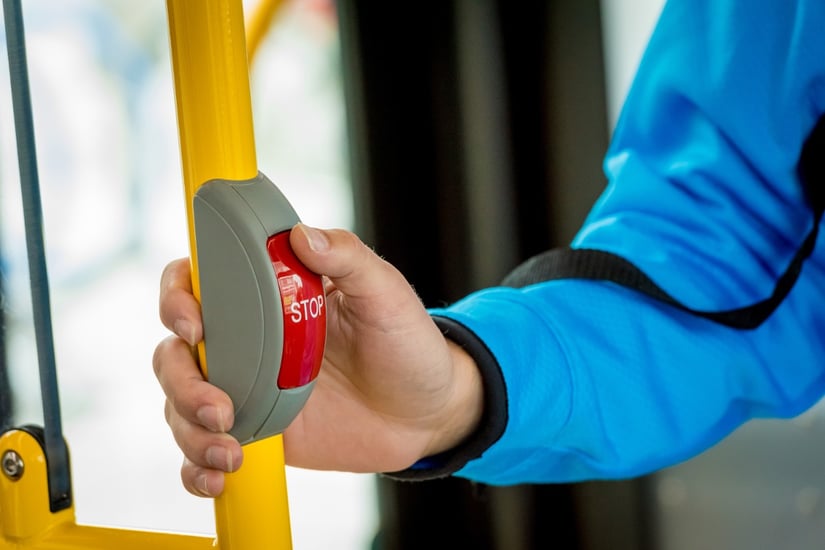
In newer Metro buses, the pull-cords have been replaced by red “STOP” buttons set into the vertical bars (see image below). In that case, press the red button when you are a stop away from your destination just like you would if it were a pull-cord.
Always try to exit the bus from the rear exit so that passengers who may be boarding can do so in a quick and safe manner. Watch your step as you get off the bus and be careful of any oncoming cyclists or cars that might be passing when you exit. And don’t forget to thank your bus driver for extra transit kudos!